If you can explain an idea out loud faster than you can type it, voice to text software can change the way you study and write. Many students and writers think slowly when they stare at a blank page, yet the same people can talk through an argument clearly in a few minutes. Speech-to-text tools close that gap. You speak, the software turns your words into written text, and you edit the result instead of building every sentence from scratch.
This guide compares the best speech-to-text apps and voice typing tools for students and writers. It covers free built-in options, dedicated transcription apps, and mobile dictation, with honest notes on accuracy, accents, pricing, and privacy. By the end, you will know which tool fits your workflow and how to dictate essays and articles without the transcript turning into a mess.
Dictation vs Transcription: Pick the Right Job First
Before choosing any voice to text software, decide which of two jobs you actually need, because the best tool for one job is often a poor choice for the other.
Dictation means speaking live into a microphone while the software types in real time. You are the speaker, and the text appears as you talk. Dictation suits drafting essays, writing articles, composing emails, taking study notes, and brainstorming. The main advantage is speed: most people speak at around 130 to 160 words per minute, while even a decent typist manages 40 to 60. The main disadvantage is that you must think while you talk, so your first draft will need editing.
Transcription means converting recorded audio into text after the fact. The speaker might be you, a lecturer, an interviewee, or several people in a meeting. Transcription suits lecture notes, interviews, podcasts, research recordings, and group discussions. Some transcription tools also identify different speakers and add time stamps, which dictation tools usually do not.
A simple way to choose is to ask one question: am I speaking right now, or do I already have a recording? If you are speaking right now, you want a dictation tool such as Google Docs voice typing, Microsoft Dictate, or your phone’s built-in dictation. If you already have a recording, you want a transcription app such as Otter.ai. A few tools do both, but they usually do one job better than the other, so start from your real use case rather than from a feature list.
Students often need both jobs at different times. You might dictate an essay draft at your desk in the evening and transcribe a recorded lecture the next morning. That is normal, and it is fine to use two tools: a free dictation tool for drafting and a transcription app for recordings. Writers, on the other hand, usually live in dictation. If you write articles, blog posts, or fiction, a fast and accurate dictation setup matters more than speaker labels or meeting summaries.
Quick Comparison of the Best Voice to Text Software
The table below gives a fast overview. Each tool is covered in detail in the sections that follow.
| Tool | Best for | Live dictation | Recorded transcription | Free option | Works on |
|---|---|---|---|---|---|
| Google Docs voice typing | Students drafting essays for free | Yes | No | Yes, free with a Google account | Browser (Chrome) |
| Otter.ai | Lectures, interviews, meetings | Yes | Yes | Yes, limited minutes per month | Web, iOS, Android |
| Microsoft Dictate in Word | Writers already using Microsoft 365 | Yes | No | Included with Microsoft 365 | Word desktop, web, Outlook |
| Gboard voice typing | Quick notes and messages on Android | Yes | No | Yes, free | Android phones and tablets |
| Apple Dictation | Quick notes and messages on iPhone, iPad, Mac | Yes | No | Yes, free and built in | iOS, iPadOS, macOS |
No single tool wins every category. Google Docs voice typing is the best free starting point for students. Otter.ai is the strongest choice for recorded audio. Microsoft Dictate is the most convenient option if you already write in Word. Mobile dictation is best for capturing ideas on the go, not for drafting long documents.
Google Docs Voice Typing: The Best Free Starting Point
Google Docs voice typing is built into Google Docs and costs nothing beyond a free Google account. It is the easiest recommendation for students, because there is nothing to install and no subscription to manage. Open a document in Chrome, go to Tools, choose Voice typing, click the microphone icon, and start speaking. Your words appear in the document in real time.
Accuracy is good for clear, steady speech in a quiet room. It handles everyday vocabulary well and copes with academic terms better than many people expect, although unusual names and technical jargon may need correcting. You can also speak punctuation out loud: saying “comma”, “full stop”, “new paragraph”, or “question mark” inserts the punctuation or formatting. This takes practice, but once the habit forms, dictating a clean first draft becomes much faster than typing.
There are limits worth knowing. Voice typing in Google Docs works only in the Chrome browser, not in other browsers, and it needs an internet connection because the speech recognition runs on Google’s servers. It does not transcribe recorded audio files, it does not label speakers, and it struggles in noisy rooms. It also times out after a period of silence, so very long pauses can stop the microphone, and you may need to click it again.
For students, the practical setup is simple. Use a quiet room, a decent headset or laptop microphone, and Chrome. Dictate in short bursts of a few sentences, then pause and glance at the text. Correcting mistakes as you go is slower than fixing everything at the end, but for essays it prevents small errors from snowballing into confusing paragraphs. If your university work lives in Google Docs already, this is the tool to try first before paying for anything.
Otter.ai: The Best Tool for Lectures, Interviews, and Meetings
Otter.ai is a transcription app rather than a simple dictation tool, and that difference is exactly why it is so useful for students and researchers. You can record live audio through the app, upload an existing audio or video file, or connect it to a video meeting. Otter then produces a written transcript, usually identifies different speakers, and adds time stamps so you can jump to any moment in the recording.
For lectures, this changes revision completely. Instead of scribbling notes and hoping you caught the key point, you can listen properly in class and search the transcript later for a term, a name, or a phrase. For interviews, it removes the slowest part of qualitative research: typing up recordings by hand. For group projects, a shared transcript means nobody has to rely on one person’s memory of what was agreed.
The free plan gives a limited number of transcription minutes per month, which is enough for a few lectures or short interviews, while paid plans raise the limit and add features such as advanced search, custom vocabulary, and team workspaces. Prices and limits change over time, so check the current plan page before committing; the free tier is the right place to test whether the accuracy suits your voice, your lecturer’s accent, and your subject vocabulary.
Otter’s accuracy is strong for clear single-speaker audio and good for conversations, but it is not perfect. Overlapping speech, heavy background noise, strong accents, and dense technical terminology all reduce accuracy. Treat every transcript as a draft: skim it, correct names and key terms, and highlight the passages you plan to quote. Never submit a raw transcript as coursework or publish an interview quote without checking it against the audio.
One underused feature is the custom vocabulary list: adding your subject’s key terms and names before an important recording noticeably improves results and saves a long cleanup session.
Microsoft Dictate in Word: Best If You Already Write in Word
If your writing already happens in Microsoft Word, Microsoft Dictate is the path of least resistance. It is built into Word for Microsoft 365 and also appears in Outlook and other Office apps. Click the Dictate button on the Home tab, or use the keyboard shortcut, and start speaking. Your words appear in the document, and you can say punctuation commands such as “comma”, “period”, “new line”, and “new paragraph” in much the same way as in Google Docs.
The biggest advantage is that nothing leaves your writing environment. You do not need to copy text from another app, and formatting, styles, and comments stay where they belong. Dictation in Word also supports several languages and auto-punctuation in some setups, which reduces the need to speak every comma out loud, although results vary and many writers prefer to dictate punctuation explicitly for control.
Dictate requires a Microsoft 365 subscription for the full desktop experience, and like Google’s tool it needs an internet connection, because recognition happens in the cloud. It does not transcribe uploaded recordings, and it does not label speakers. Its accuracy is comparable to Google Docs voice typing for clear speech: strong on general writing, weaker on names, accents, and background noise.
For writers producing long articles or book chapters, the practical tip is to dictate into a rough draft document first, then move the text into your structured document for editing. Dictating directly into a carefully formatted manuscript invites distraction, because you will stop to fix headings and styles instead of keeping the flow of ideas going. Separate the drafting stage from the editing stage and both become easier.
Mobile Dictation: Gboard and Apple Dictation for Ideas on the Go
Some of the best writing moments happen away from a desk: on a walk, on a bus, or just after waking up. Mobile dictation exists for exactly those moments. Both Android and Apple devices include free, built-in voice typing, and both are good enough to capture ideas, notes, and short drafts.
On Android, Gboard is the default keyboard on many phones. Tap the microphone icon on the keyboard and speak; your words appear wherever the cursor is, whether that is a notes app, a document, or a message. Gboard’s voice typing is fast and accurate for everyday speech, and newer versions can even keep listening while you type corrections. It works best with a stable internet connection, although some offline support exists depending on the device and language pack.
On iPhone, iPad, and Mac, Apple Dictation works the same way. Tap the microphone icon on the keyboard, or use the dictation shortcut on a Mac, and speak. Apple processes many dictation requests on the device itself for supported languages, which is a small privacy plus, and accuracy is comparable to Gboard for clear speech. As with every dictation tool, punctuation commands work: say “comma” or “new paragraph” rather than hoping the software guesses.
Mobile dictation is not the right tool for drafting a full essay. Small screens make editing awkward, and background noise on the street or on public transport hurts accuracy. Its real strength is capturing raw material: a paragraph idea, a list of points for tomorrow’s essay, a quote you want to remember, or a voice note you will expand at your desk later. Think of it as a net for ideas, not as a replacement for your main writing setup.
A useful habit is to dictate into a single notes app you trust, then process those notes once a day. Ten minutes of dictating scattered ideas is worthless if the notes sit unread for a month. A short daily review, where you turn dictated fragments into outlines or opening paragraphs, turns mobile dictation into a genuine part of a writing routine.
Accuracy Across Accents: Honest Limits
No honest guide to voice to text software can skip this section, because accuracy is where marketing claims and real experience diverge most. Modern speech recognition is impressive, but it is not equally accurate for everyone, and knowing the limits saves frustration.
For clear, standard-accented speech in a quiet room, the major tools are now very accurate on everyday language. Errors still appear with proper names, unusual spellings, numbers, and words that sound alike, such as “their”, “there”, and “they’re”. These are easy to fix in editing and should not put you off dictation.
Accuracy drops noticeably in several common situations. Strong regional accents and non-native accents produce more errors, because the models are trained mostly on standard varieties of English. Fast speech, mumbling, and speaking while tired all increase mistakes. Background noise is a major enemy: a television, a fan, a busy café, or a classmate talking nearby can all corrupt a transcript. Technical vocabulary, medical terms, legal phrases, and subject-specific jargon are also weak spots unless the tool lets you add custom words.
There are practical ways to improve results. Speak at a natural, steady pace rather than rushing or over-enunciating every syllable, which can sound unnatural to the model. Use a headset microphone instead of a laptop’s built-in microphone, because closeness to your mouth matters more than microphone price. Record or dictate in the quietest room available, and close the door. If a tool offers custom vocabulary, train it with your recurring terms before an important session. Finally, always proofread. Dictation gives you a fast first draft, not a finished document, and the editing pass is where accuracy problems get caught.
If you have an accent that a tool handles poorly, test before you commit. Dictate the same paragraph into two or three free tools and compare the results. One engine may suit your voice noticeably better than another, and that personal test is worth more than any published accuracy claim. For recorded lectures, ask whether the speaker’s accent is the problem: a lecturer with a strong accent will challenge every transcription app, so plan extra cleanup time rather than expecting a perfect transcript.
A final honest note: do not use a raw transcript as evidence of what someone said. In interviews and academic work, always check quotations against the original audio. A single misheard word can reverse the meaning of a sentence, and that risk is yours, not the software’s.
Free vs Paid: What You Actually Get
Most students and many writers can do excellent work without paying anything, because the strongest dictation tools are free. Google Docs voice typing, Gboard, and Apple Dictation cost nothing, and they cover the core job of turning speech into text. If your main need is drafting essays, articles, and notes, the free tier may be all you ever need.
Paid plans make sense when you need one of three things. First, transcription minutes: turning hours of recorded lectures or interviews into text quickly is the main reason to pay for a tool like Otter.ai. Second, collaboration features: shared transcripts, team workspaces, and searchable archives matter for research groups and newsrooms. Third, higher limits and extras: custom vocabulary at scale, integrations with video meetings, and priority processing for long files.
The mistake to avoid is paying before testing. Every major tool offers a free tier or trial, and a week of real use tells you more than any comparison article. Test with your voice, your accent, your subject vocabulary, and your actual documents. Check the current price and minute limits on the provider’s own site before subscribing, because both change frequently, and a plan that was generous last year may be tighter today.
A sensible spending order for students is: start free with Google Docs voice typing for drafting, add Otter.ai’s free tier for occasional lecture transcription, and only pay for a transcription plan if you regularly exceed the free minutes. Writers should follow the same logic: free dictation first, and pay only when a specific bottleneck, such as interview transcription, is eating hours every week.
Workflow: Dictating Essays and Articles Step by Step
Tools alone do not produce good writing. A simple workflow turns dictation from a novelty into a reliable habit. The method below works for essays, articles, and reports.
Step one is outlining before you speak. Spend five to ten minutes writing a short outline: your main argument, three or four key points, and the evidence or examples for each. Dictating without an outline usually produces a long ramble that takes longer to edit than a typed draft would have. An outline keeps your spoken draft structured from the start.
Step two is dictating in short sections, not in one long stream. Speak one section at a time, then pause. Say the heading out loud, dictate the section’s paragraphs, and stop. Short bursts keep the transcript organized and make mistakes easier to find. If you lose your train of thought, stop, look at your outline, and start the next section fresh rather than talking in circles.
Step three is the cleanup pass, done immediately after dictating while the ideas are still fresh. Fix misheard words, add missing punctuation, and split run-on sentences. Do not rewrite deeply at this stage; the goal is a readable draft, not a final version.
Step four is the real edit, ideally after a break. Read the draft aloud or on paper, restructure weak paragraphs, strengthen your argument, and check quotations and facts. This is also the moment to check anything the software may have garbled: names, numbers, dates, and technical terms.
Step five is formatting and referencing. Add headings, citations, and your bibliography, and run a final spelling and grammar check. Dictation tools sometimes produce correct-sounding but wrong words, such as “to” instead of “two”, which spellcheckers miss, so a careful read-through matters more than usual.
Two habits make this workflow stick. Dictate at the same time each day, even for twenty minutes, so it becomes routine. And keep a list of words your tool consistently gets wrong, adding them to custom vocabulary where possible.
Privacy Notes: What Happens to Your Voice
Voice to text software needs to hear you, and that raises a fair question: what happens to your recordings and transcripts? The answer depends on the tool, so read the privacy policy of anything you use regularly, especially for academic or professional work.
Most cloud-based dictation and transcription tools send your audio to company servers for processing. They typically use it to generate your transcript and may retain recordings or transcripts for a period, depending on their settings and your plan. Some tools let you delete recordings and transcripts, and some offer settings to limit retention. If you dictate unpublished research, interview material, or anything confidential, check these controls before you start, and delete recordings when you no longer need them.
Built-in mobile dictation is often more private. Apple processes many dictation requests on the device for supported languages, and some Android setups offer on-device recognition for certain languages. On-device processing means your voice may never leave the phone, although features such as transcription history and cloud sync can change that picture.
A few rules cover most situations. Do not dictate passwords, personal identification numbers, or sensitive personal data into any voice tool. Do not record or transcribe other people without their knowledge where consent is required, and check your institution’s rules before recording lectures or interviews. For student work, remember that your university may have its own policy on AI and transcription tools, so a quick check now avoids trouble later. When in doubt, use a free built-in dictation tool for drafting your own words, and reserve cloud transcription for material you are comfortable storing with a third party.
Which Voice to Text Software Should You Choose?
The right choice depends on your main job, and this summary brings the guide together.
If you are a student drafting essays for free, start with Google Docs voice typing. It costs nothing, needs no installation, and is accurate enough for a first draft you will edit anyway. If you also need lecture transcripts, add Otter.ai’s free tier and upgrade only if you regularly run out of minutes.
If you are a writer working in Microsoft Word, use Microsoft Dictate. Staying inside Word removes friction, and dictating into a rough draft before editing keeps your flow intact.
If you capture ideas on the move, use the dictation already on your phone. Gboard on Android and Apple Dictation on iPhone, iPad, and Mac are free, fast, and good enough for notes and fragments you will expand later.
If your main job is turning recordings into text, Otter.ai is the strongest general choice for students and writers, because of speaker labels, time stamps, and search. Test it with your real recordings before paying, and always proofread the result.
Whichever tool you choose, remember the core truth of this guide: voice to text software gives you a fast first draft, not a finished document. The editing pass is where your writing actually happens. Dictate boldly, edit carefully, and you will write more, faster, without losing quality.
Frequently Asked Questions
What is the best free voice to text software for students?
Google Docs voice typing is the best free option for most students. It is free with a Google account, works in Chrome, and is accurate enough for essay drafts. For lecture transcription, Otter.ai’s free tier is the best free starting point, although its monthly minutes are limited. Mobile dictation from Gboard and Apple is also free and useful for notes.
Is voice to text software accurate enough for essays?
Yes, for a first draft. Clear speech in a quiet room produces a transcript that needs light editing: fixing names, numbers, and a few misheard words. It is not accurate enough to submit without proofreading. Always read the full draft before handing in coursework, because dictation errors can be correct-sounding words in the wrong place, which spellcheckers often miss.
Can voice to text software handle different accents?
It handles standard accents well, but strong regional and non-native accents produce more errors. The best approach is to test two or three free tools with your own voice and compare results, use a headset microphone, and dictate in a quiet room. Adding custom vocabulary for subject terms also helps noticeably.
Does voice typing work without the internet?
Most cloud-based tools, including Google Docs voice typing and Microsoft Dictate, need an internet connection. Some mobile dictation supports offline recognition for certain languages when the language pack is downloaded, but features may be reduced. Check your device’s settings before relying on offline dictation.
What is the difference between dictation and transcription?
Dictation is speaking live while software types in real time, and it suits drafting essays and articles. Transcription converts existing recordings into text afterwards, and it suits lectures, interviews, and meetings. Choose dictation when you are speaking now, and transcription when you already have a recording.
Can I dictate punctuation, or do I have to add it later?
You can speak punctuation in all major tools. Saying “comma”, “full stop” or “period”, “question mark”, and “new paragraph” inserts the punctuation or formatting. It feels strange at first, but it quickly becomes habit, and it produces a much cleaner first draft than adding all punctuation afterwards.
Is it safe to dictate private or academic work?
Be cautious. Cloud tools send audio to company servers, so avoid dictating passwords or sensitive personal data, and check the tool’s retention and deletion settings for confidential material. On-device mobile dictation is generally more private. Also check your university or employer’s rules on recording and transcription before recording other people.
Image Concepts (to be created, not generated yet)
- Phone with microphone waveform illustration — A smartphone held in hand with a sound-wave graphic rising from its microphone, placed after the Mobile Dictation section. Original flat illustration, no brand logos or app screenshots.
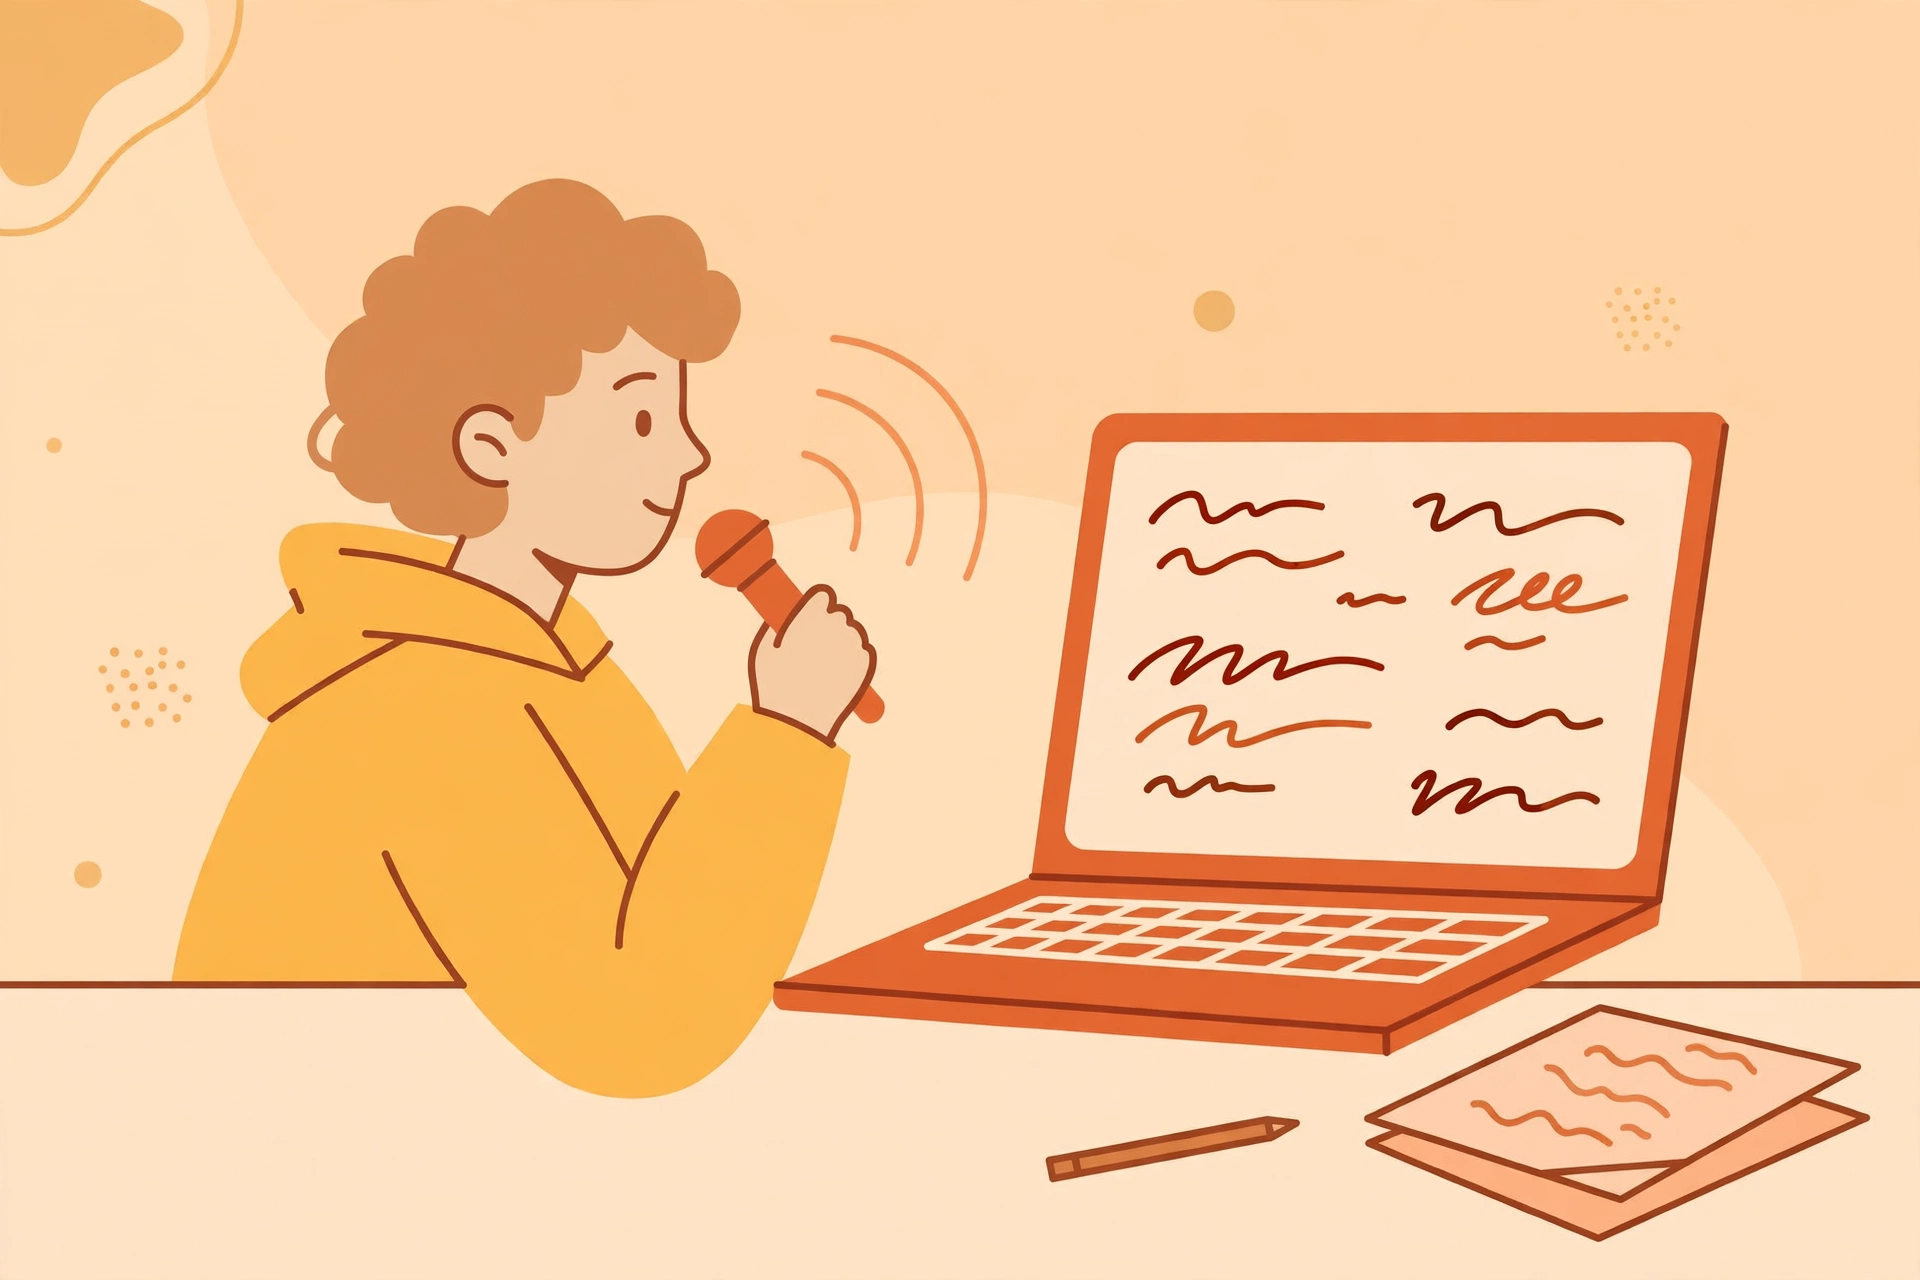
- Student dictating notes illustration — A student at a desk speaking into a headset microphone while text appears on a laptop screen, placed near the Google Docs or Workflow section. Original illustration, no stock-photo faces.
- Accuracy comparison bar-chart graphic — A simple original bar chart comparing typical accuracy in quiet rooms vs noisy rooms vs strong accents (labelled as illustrative, not measured data), placed in the Accuracy Across Accents section. No invented statistics presented as measurements.